Setting Up Google Cloud Storage
Before you can use Google Cloud Storage with Media Cloud, you’ll first need to go through some basic steps to get going. It looks complicated, but if you stick with the steps outlined, you should be able to get through the process in about 10-15 minutes.
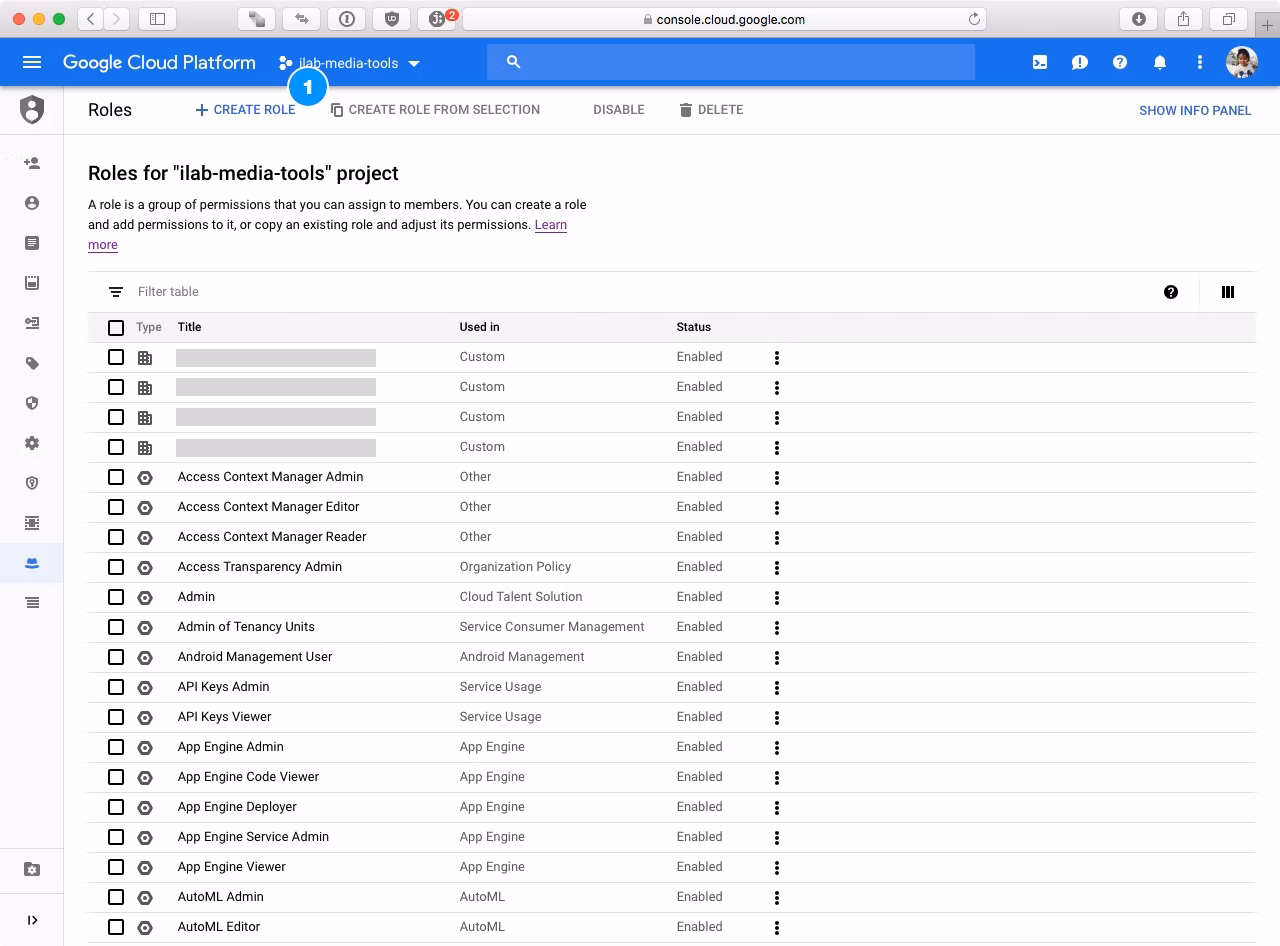
Step 1 – Create Role
The very first thing we need to do is create a role that defines what capabilities are going to be granted to the user of the bucket. Log into your Google Cloud Platform console, navigate to the IAM section and select Roles from the side navigation. When the Roles page has loaded, click on Create Role.
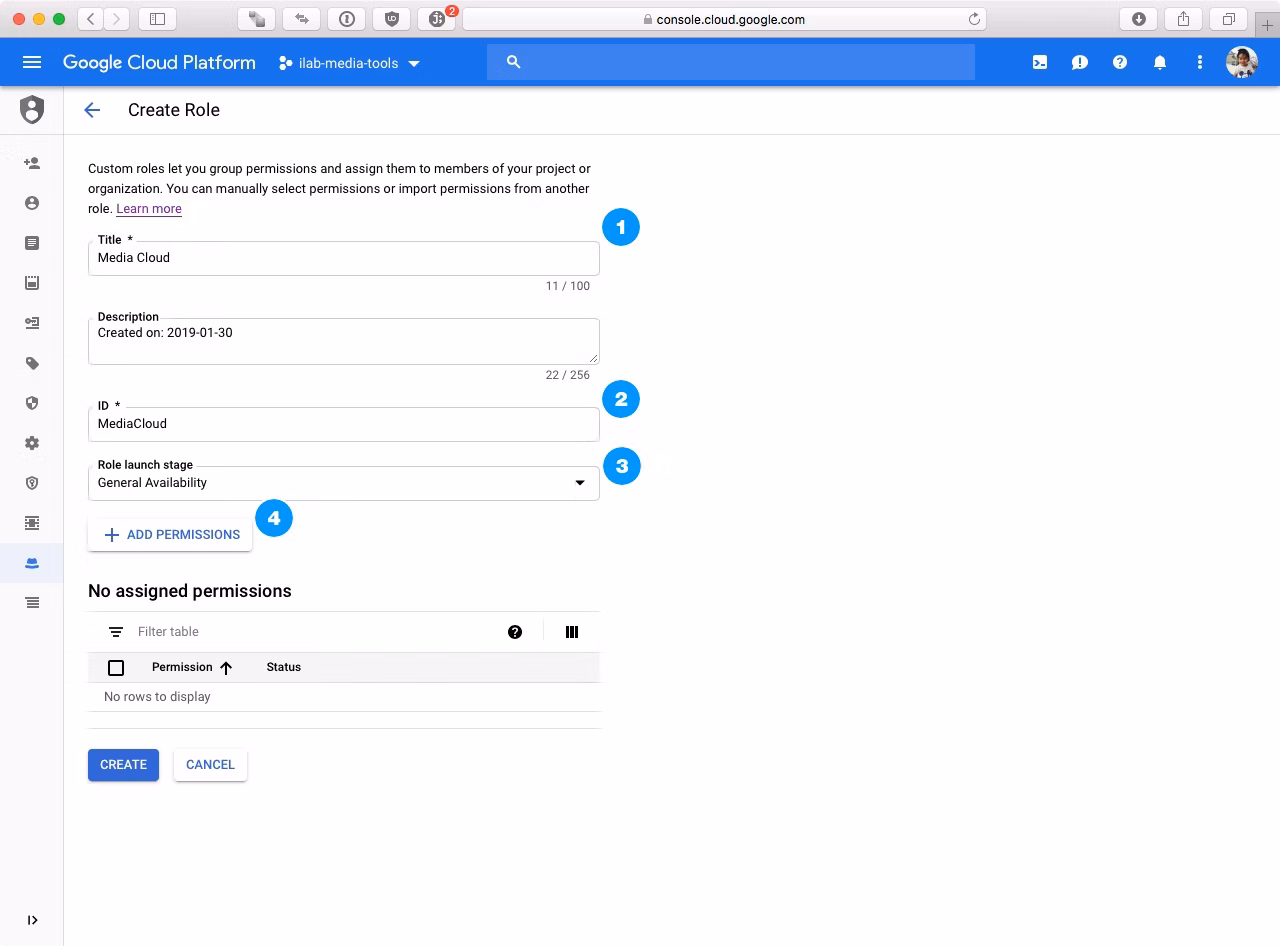
Step 1.1 – Role Properties
On the Create Role page, give the role a name and, optionally, set it’s ID to something that is going to be more clear for you. Set the Role launch stage to General Availability. When you’ve done all that, click on Add Permissions
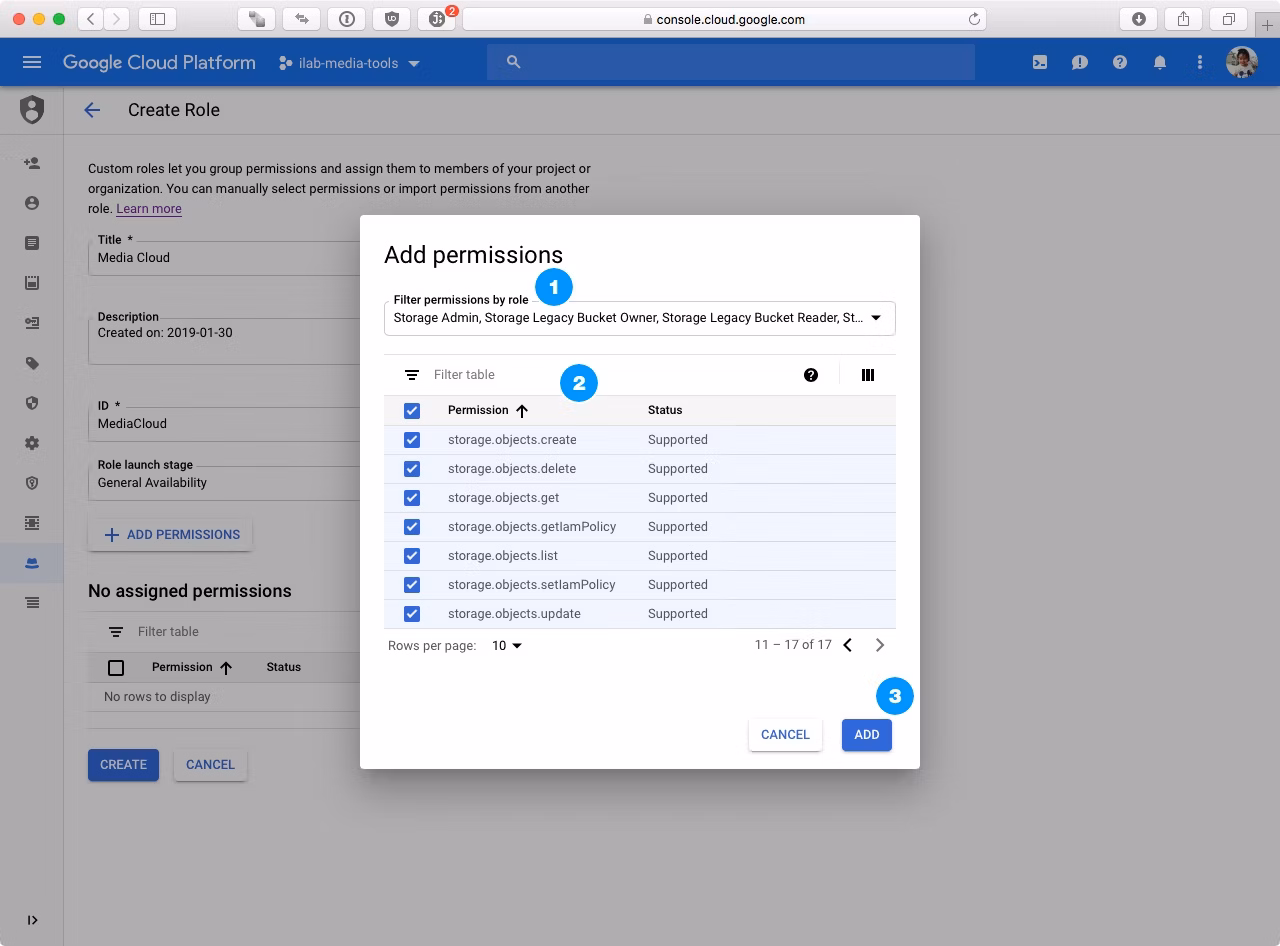
Step 1.2 – Role Permissions
A dialog window will appear that will allow us to assign the relevant permissions to our new role. To make it easier, filter the list of permissions to any role that has Storage in the title. Once you’ve filtered the permissions, add the following permissions to our new role by click on the checkbox next to it. You will want to add the following:
- storage.buckets.get
- storage.buckets.update
- storage.objects.create
- storage.objects.delete
- storage.objects.get
- storage.objects.getIamPolicy
- storage.objects.list
- storage.objects.setIamPolicy
- storage.objects.update
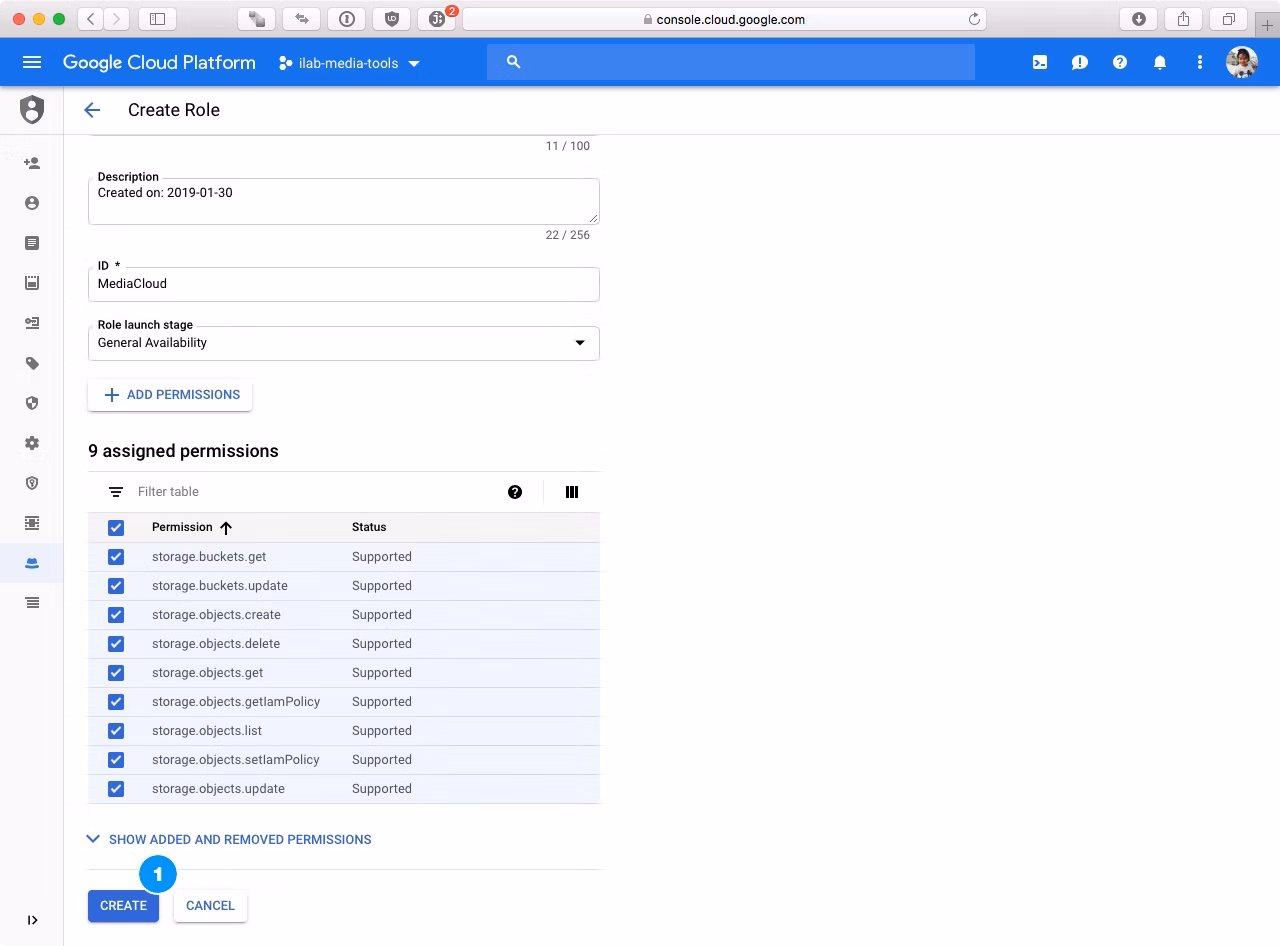
Step 1.3 – Create the Role
Verify that the correct permissions have been assigned and click on Create.
Step 2 – Service Account
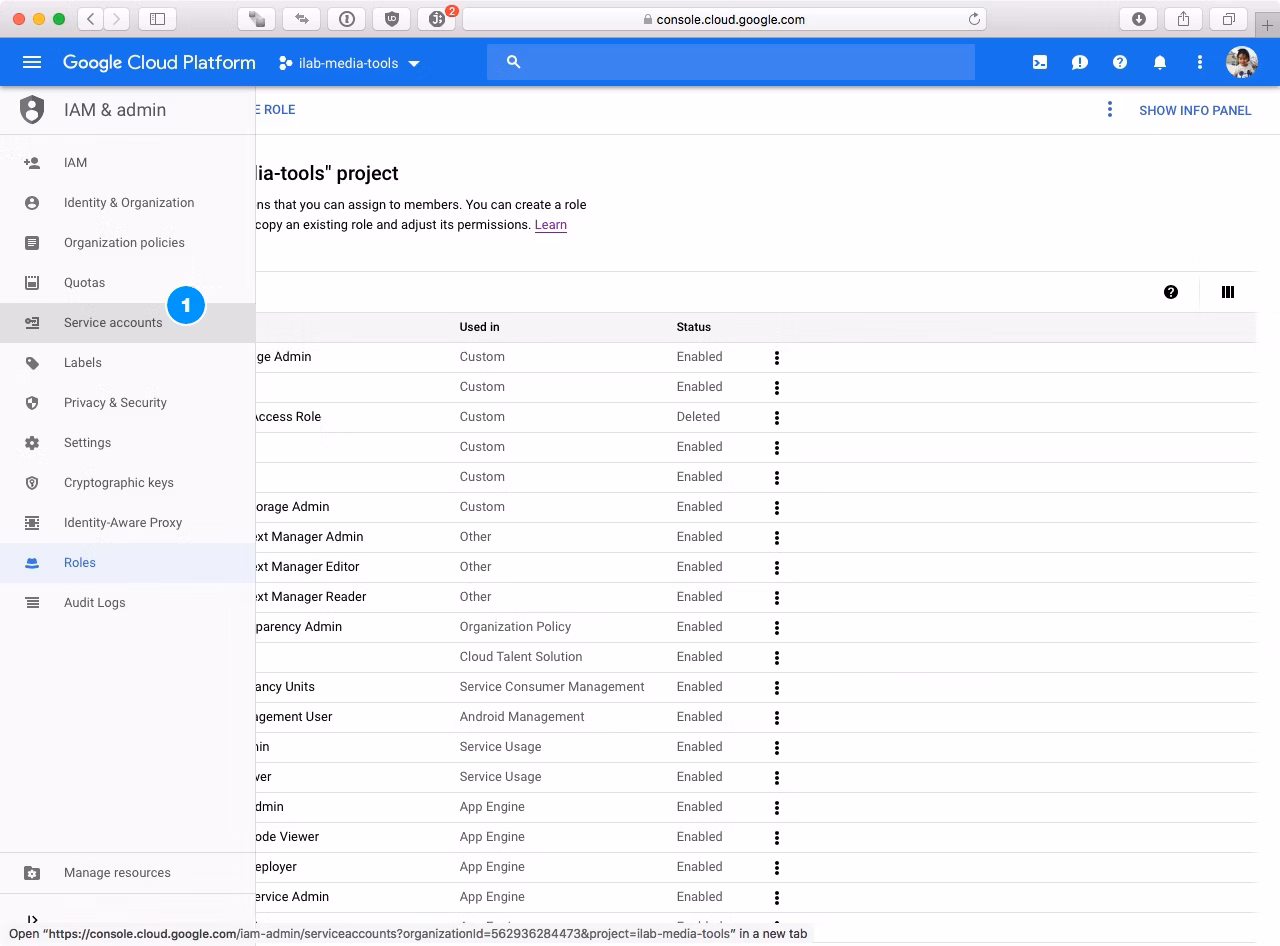
In this next step, we’ll need to create a service account that allows Media Cloud to interact with Google Cloud Storage. In the left hand navigation of the Google Cloud console, select Service accounts.
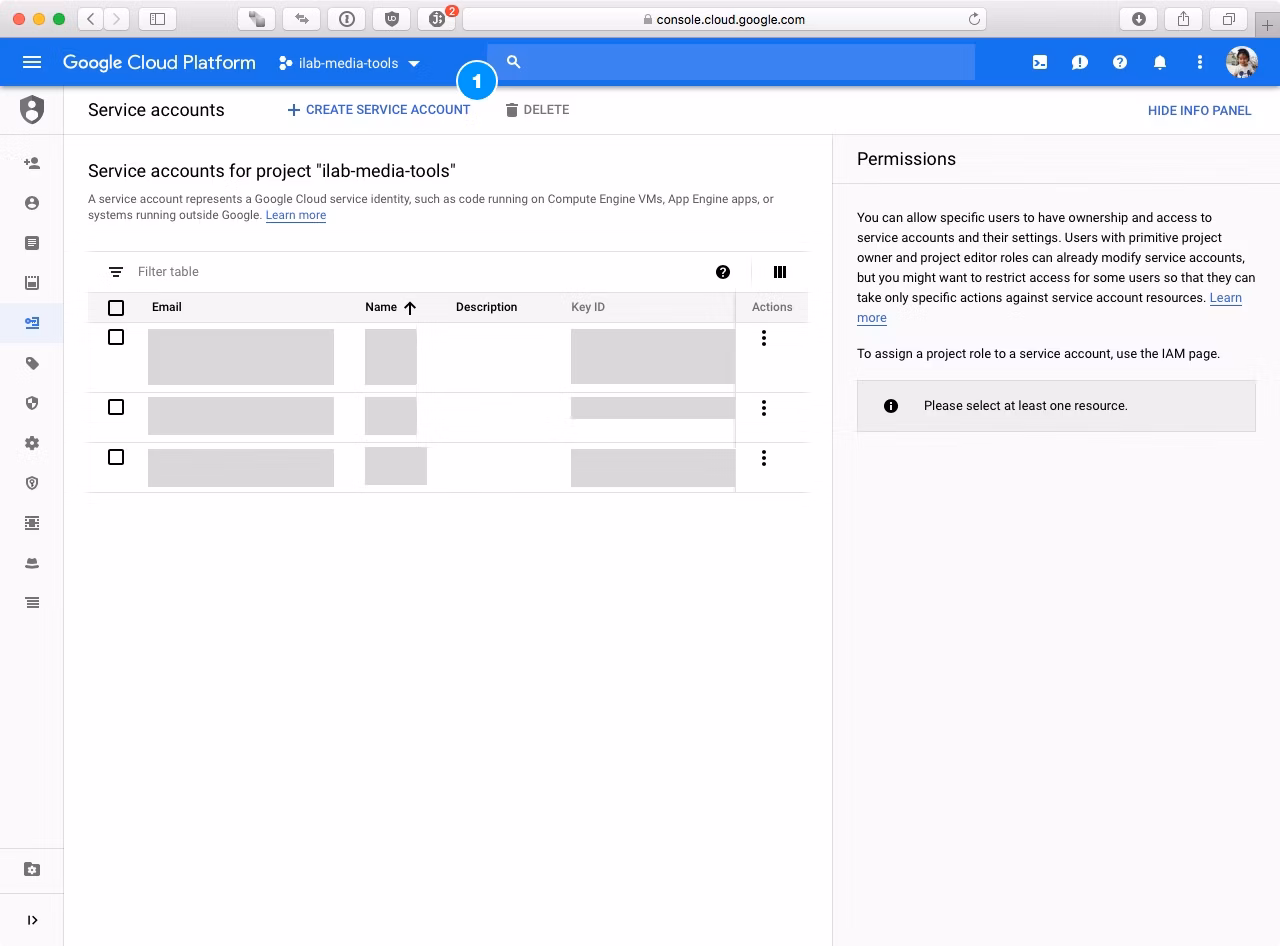
When the Service Accounts page has loaded, click on Create Service Account.
Step 2.1 – Account Details
The Create service account page is a multi-step wizard. On the first step of the wizard, enter the following information for the account:
- The name of the account
- An ID for the account
- A description for the account
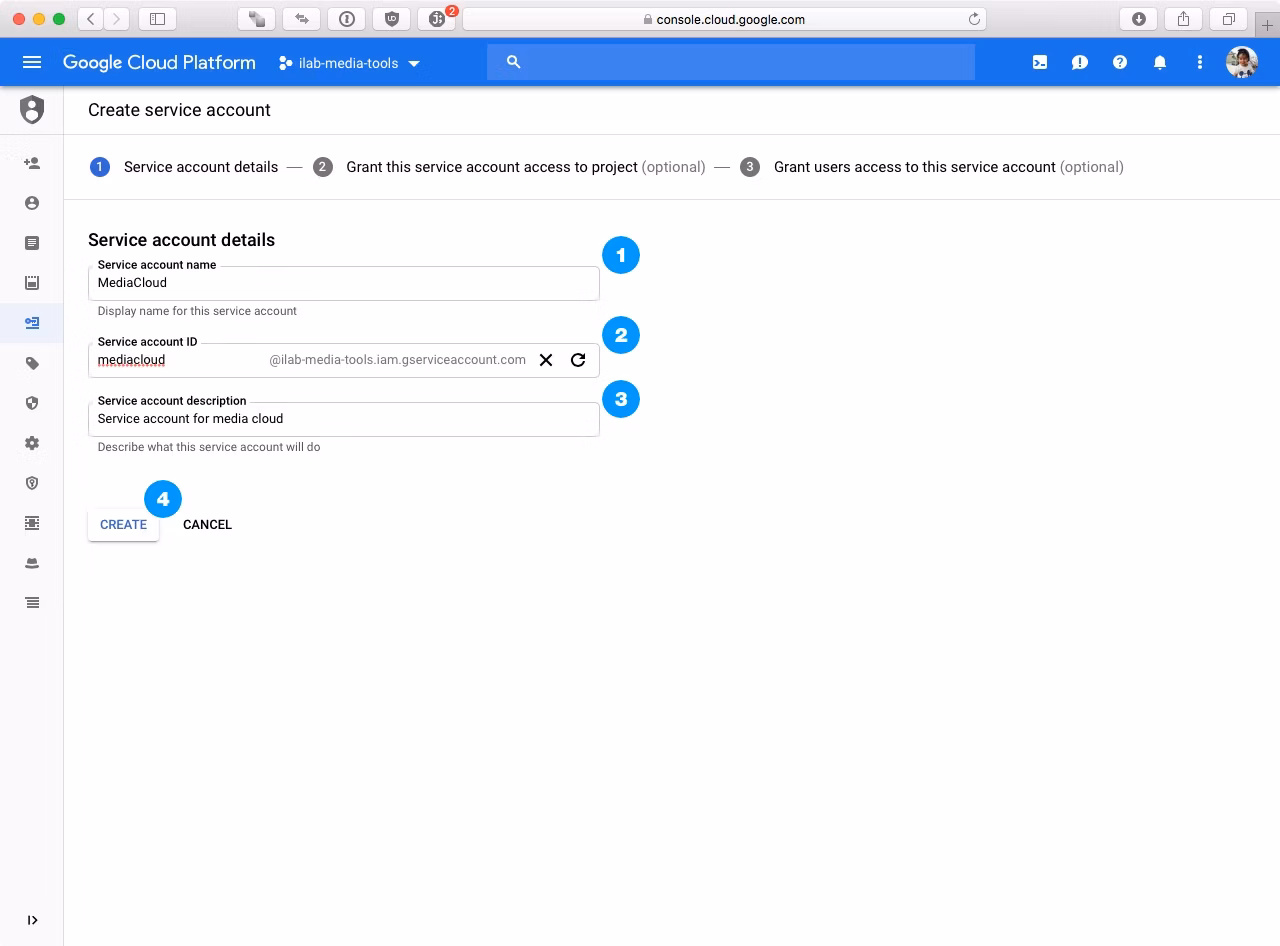
Click on Create to move to the next step.
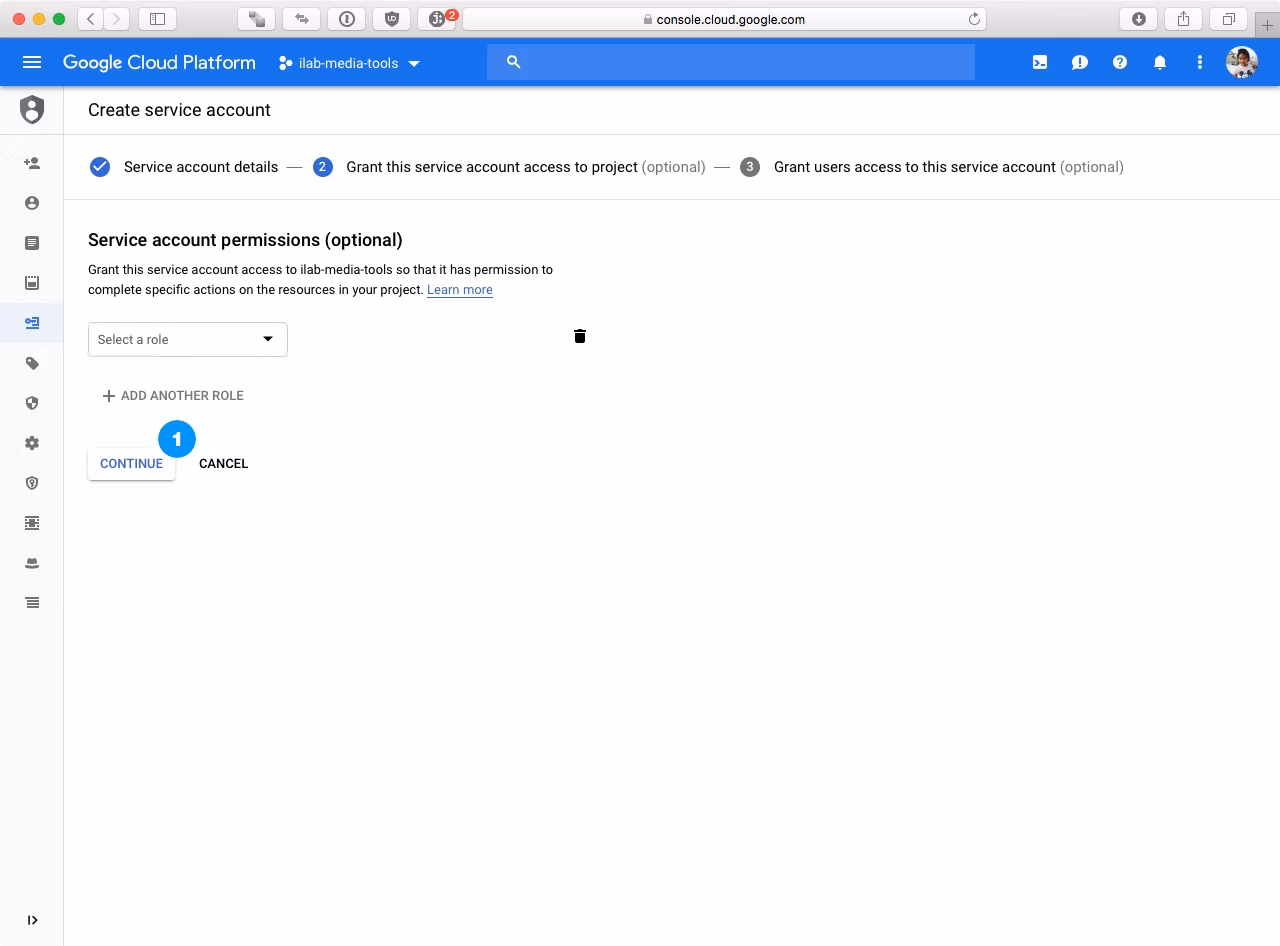
On the next step, you can simply click Continue.
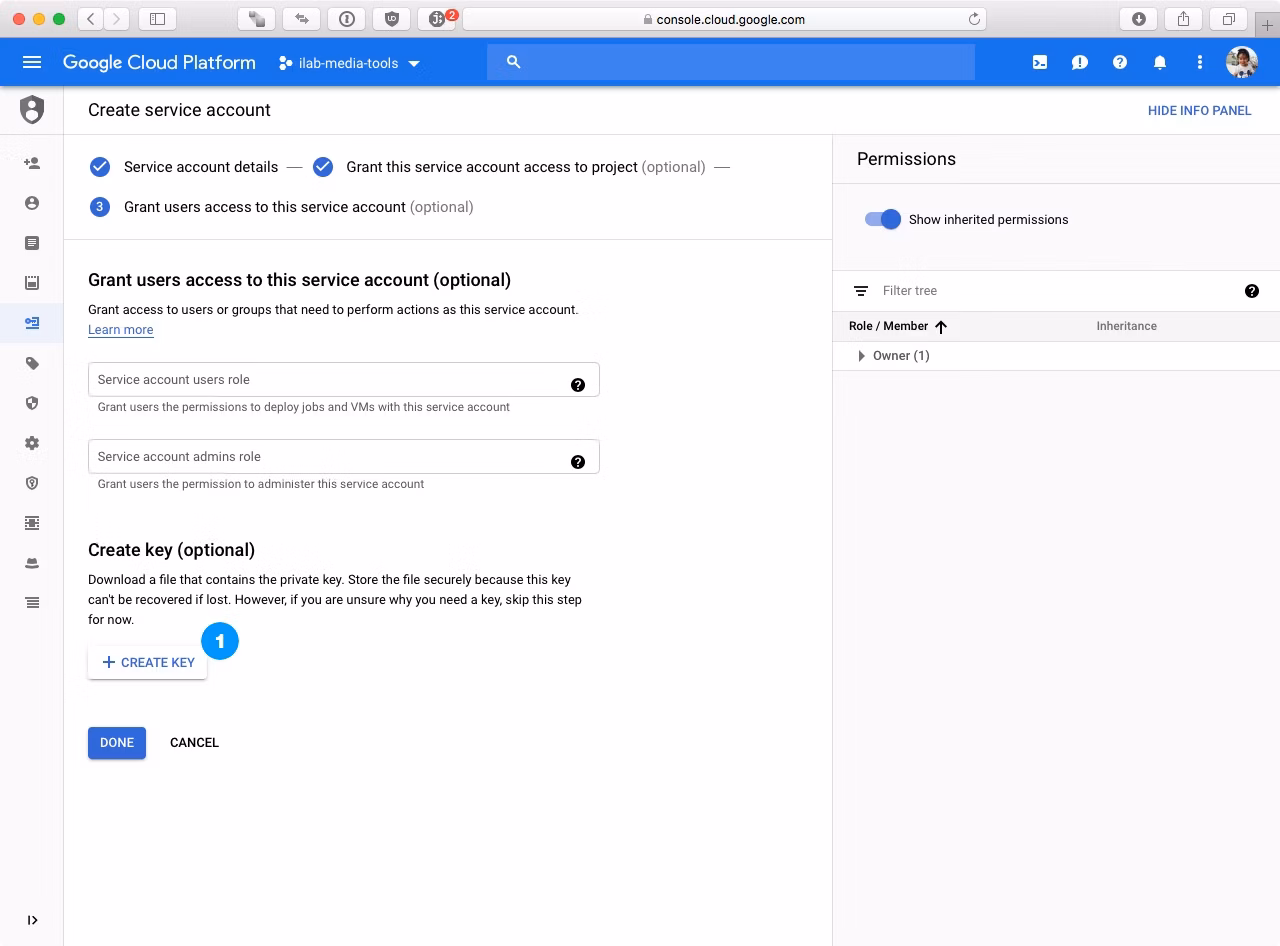
Step 2.3 – Generate Key
On the third step of the Create service account wizard we’ll be creating the key we’ll use in Media Cloud.
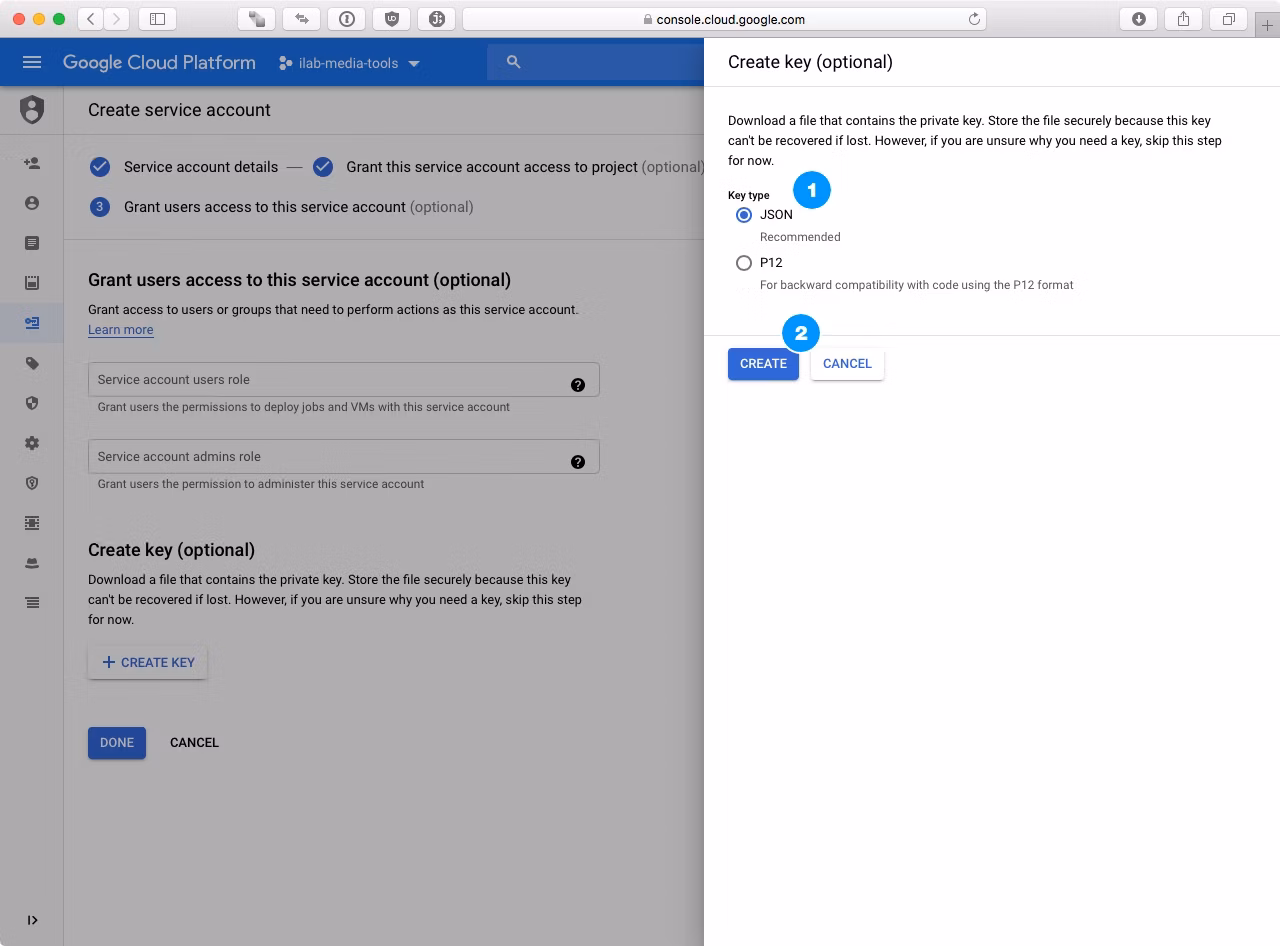
Clicking on Create Key will display a pop-up modal, giving you two options for generating a key. Select the JSON option and then click on Create.
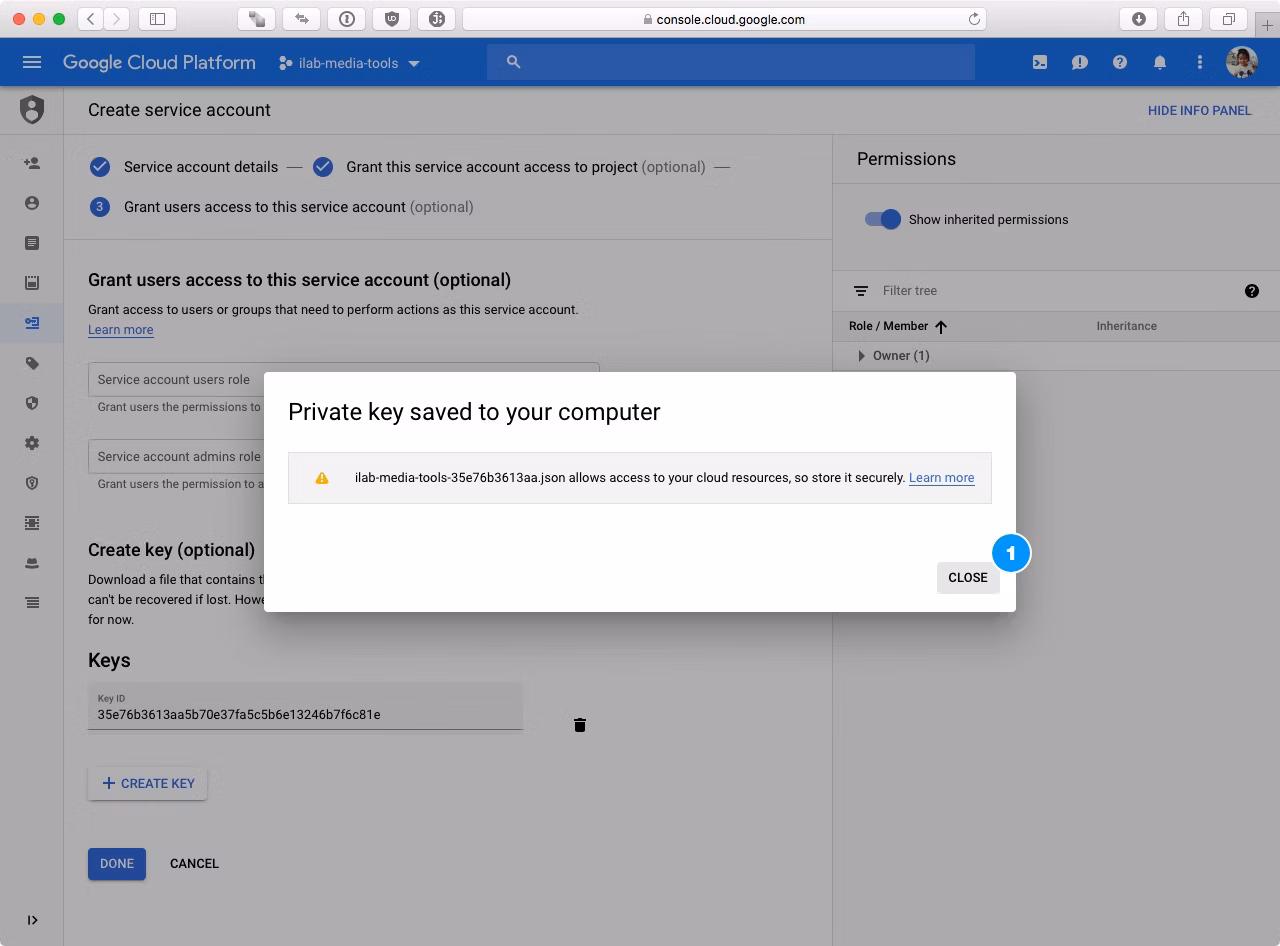
At that point a JSON file will be downloaded to your computer that contains all of the information you need to access Google Cloud Storage with Media Cloud. Store this file in a safe and secure place.
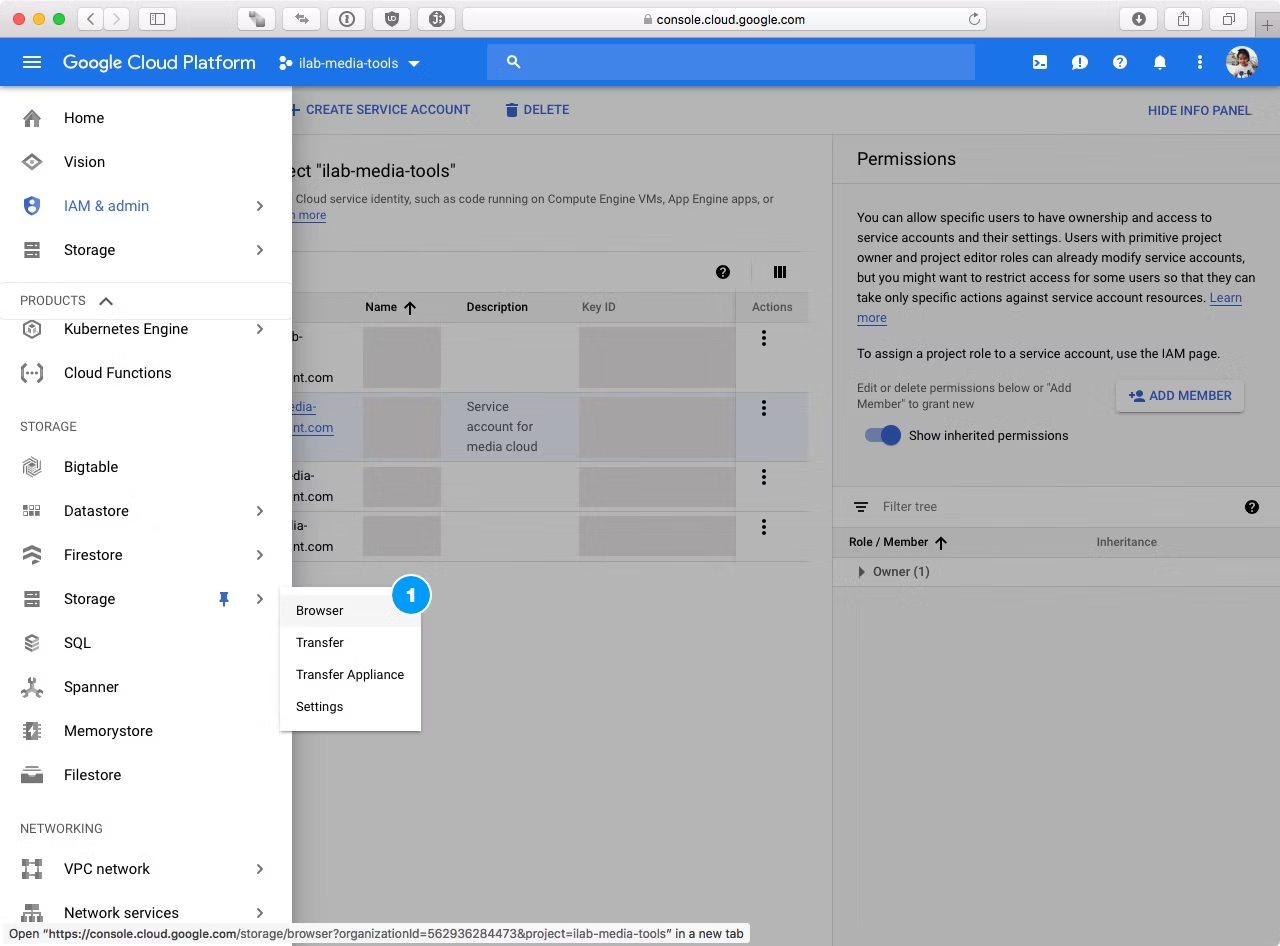
Step 3 – Create the Bucket
The final step is to create the bucket we’ll be using with Media Cloud. In the Google Cloud console, navigate to the Storage Browser.
When the Storage Browser loads, click on Create Bucket.
Step 3.1 – Bucket Properties
In the Create a bucket screen, give the bucket a name, determine the storage class and select the location of the bucket. Recommended to pick a location that is close to you (if using Direct Uploading) or close to your server.
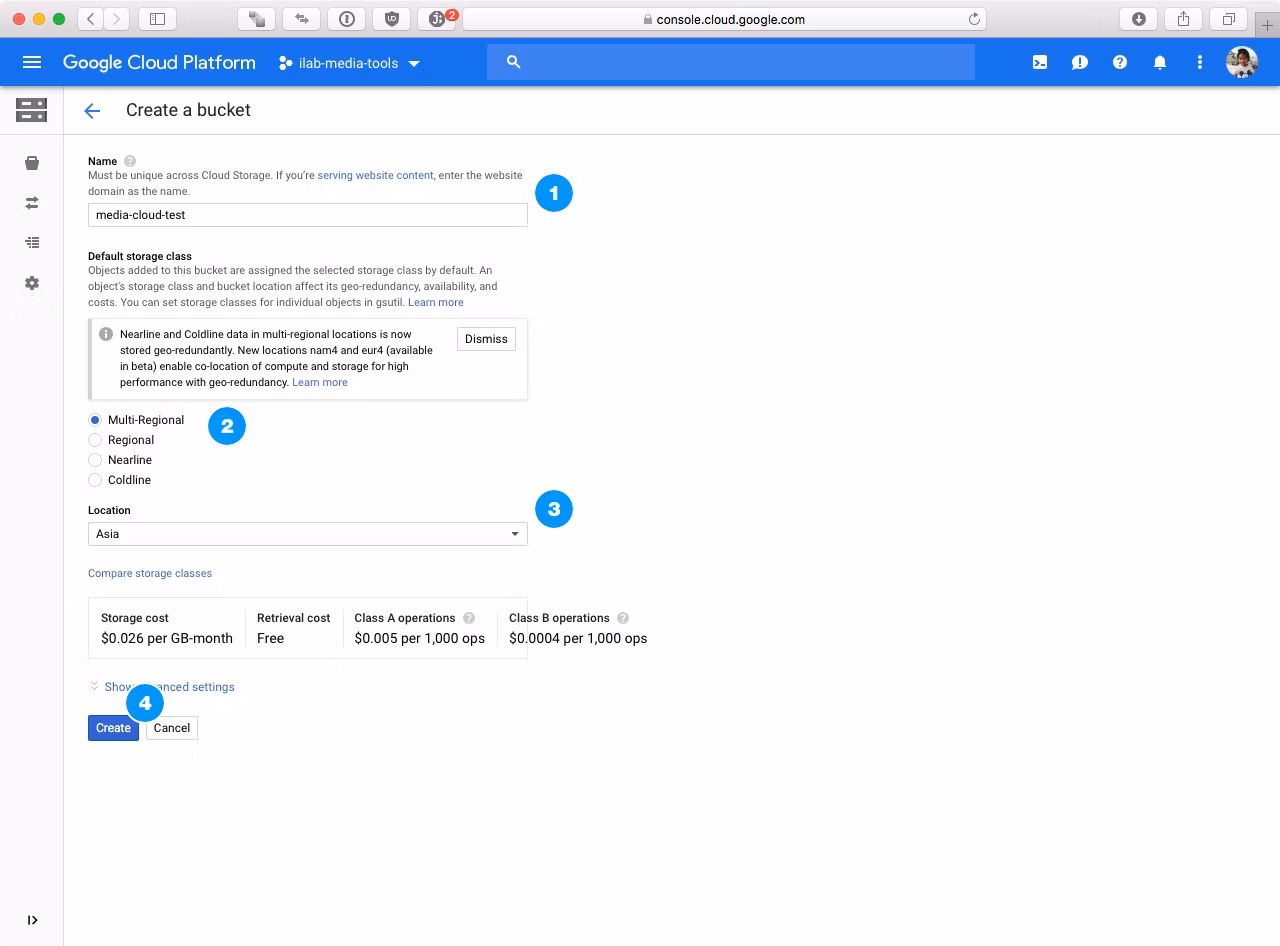
When done, click Create.
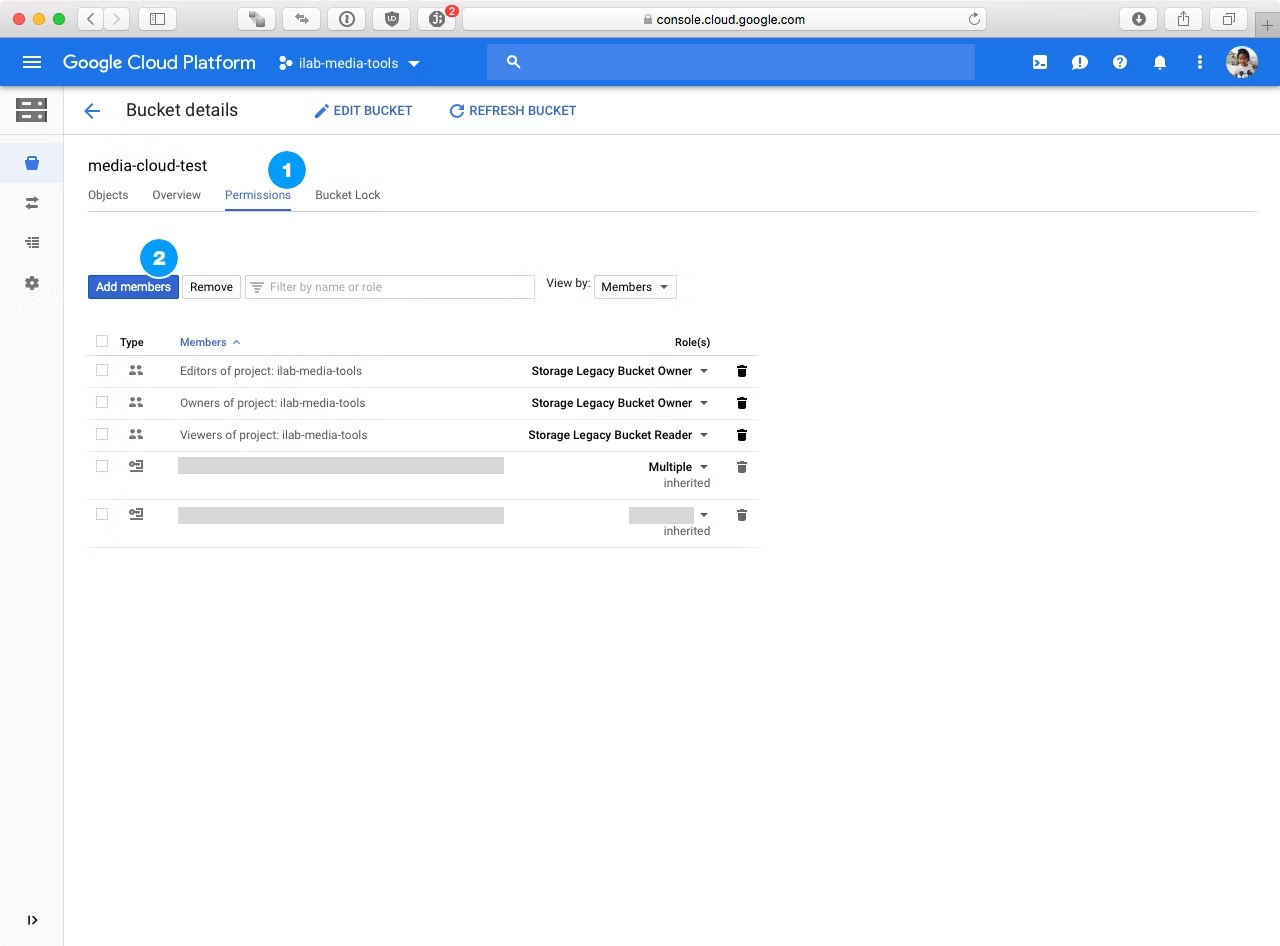
Step 3.2 – Bucket Permissions
Once the bucket has been created, you’ll be viewing the bucket in the storage browser. We’ll need to assign the service account to the bucket to give it access. Click on Permissions and then click on Add members.
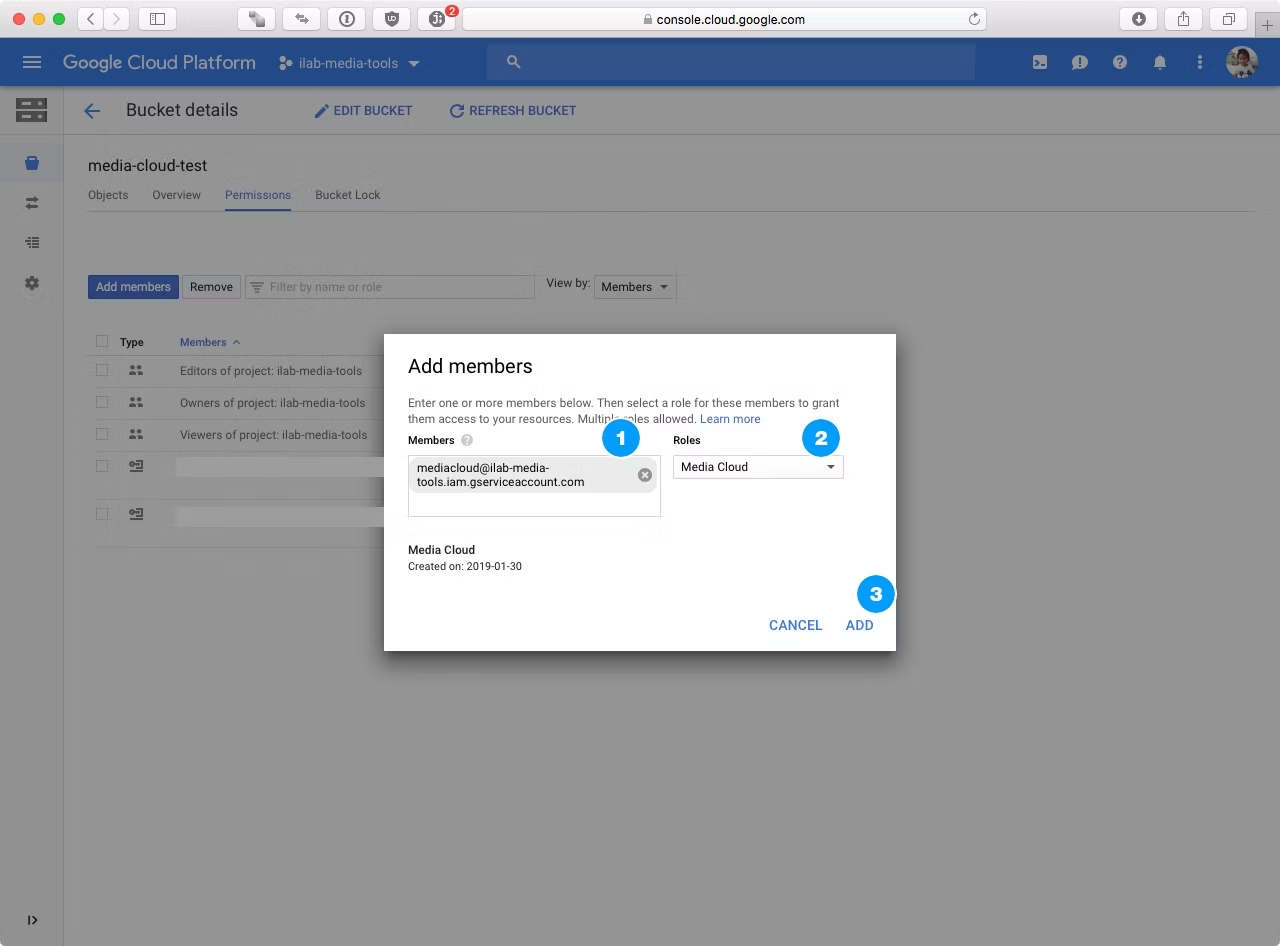
Step 3.3 – Assign User
In the modal dialog that appears, simply enter the name of the user we created in Step 2 and then select the role we created in Step 1. Click on Add to finish.
We are now done setting things up in Google Cloud. The next step is setting up Media Cloud.
Step 3.4 – Allow public access (Optional)
If you are using a bucket with the ‘Bucket Policy Only’ option set, you need to grant permission to access the items publicly. Click on Permissions and then click on Add members. In the modal dialog that appears, enter allUsers, and select the Storage Object Viewer option. Click Save.
Step 4 – CORS Configuration (Optional)
If you are planning on using the Direct Upload feature, you’ll need to set a CORS policy on your bucket in Google Cloud Storage. To do this, you’ll need to install the gsutil command line tool. You can download and install that from here: Download and Install gsutil. Be sure to follow the steps to setup authentication.
Step 4.1 – Create the CORS JSON file
You’ll need to define your CORS policy in a JSON file. Use this sample policy as a starting point:
[
    {
      "origin": ["https://yourdomain.com"],
      "responseHeader": ["*"],
      "method": ["GET", "HEAD", "DELETE", "POST", "PUT", "OPTIONS"],
      "maxAgeSeconds": 3600
    }
]
Be sure to change https://yourdomain.com to your actual domain, and possibly add more domains for your dev or staging environments.
Step 4.2 – Set the CORS Policy
Crack open a terminal and type the following:
gsutil cors set yourjsonfile.json gs://your-bucket-nameObviously replace yourjsonfile.json with the name of the JSON file you created in the previous step and change gs://your-bucket-name to the name of your bucket. Verify the CORS policy has been set correctly with:
gsutil cors get gs://your-bucket-nameThat’s it, CORS has been set and you now are capable of performing Direct Uploads with Media Cloud.
Step 5 – Configure Media Cloud
Now that everything has been set up with Google Cloud Storage, it’s time to setup Media Cloud. Navigate to Settings in the Media Cloud admin menu and select Cloud Storage.
Step 5.1 – Provider Settings
In the Provider panel, set the Storage Provider to Google Cloud Storage. Open up the JSON file we downloaded in Step 2.3 and copy it’s contents. Paste this into the Credentials field. Set the Bucket to the name of the bucket we created earlier. At this point, these are the basic settings you need to get Google Cloud Storage working with Media Cloud. Save the settings and run the Troubleshooter to verify that everything is working correctly.